
If you have a device which is joined to Office 365 Azure AD and you use LogMeIn to remotely connect to it. You have probably found that the user account is missing from the list of available users in the LogMeIn control panel.
To fix this fire up command prompt by right clicking CMD and selecting ‘Run as Administrator’.
1. Enter the following commands, pressing enter after each:
net localgroup LMIUsers /add
net localgroup LMIUsers /add "AzureAD\"
The output from these two commands should look something like this:

2. Next fire up the ‘LogMeIn Control Panel’ by right clicking and selecting ‘Run as Administrator”.
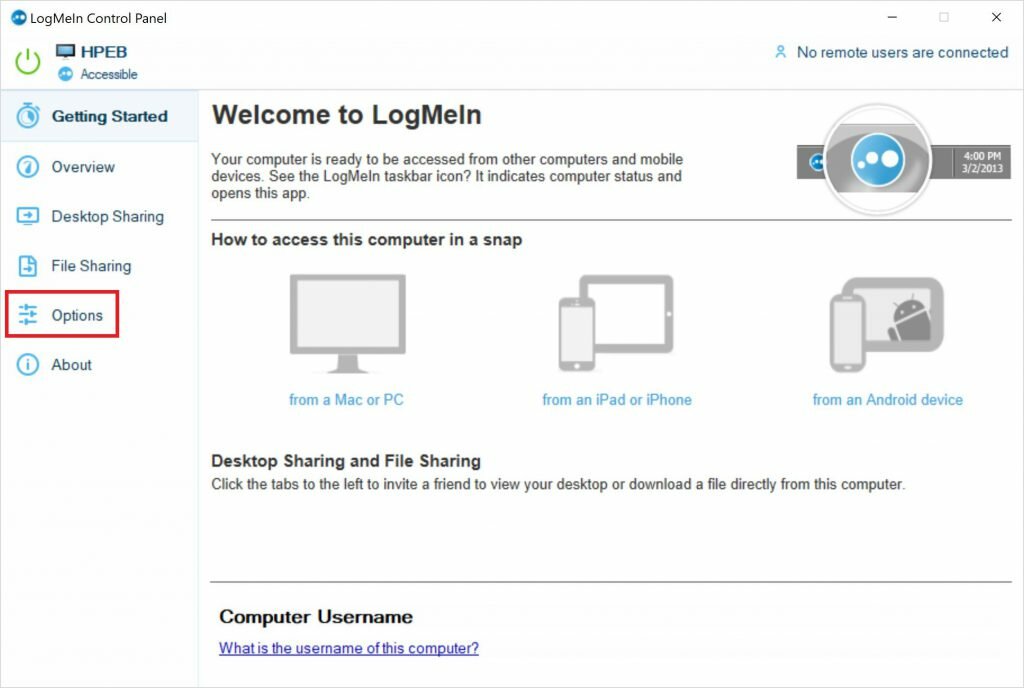
3. Next go to ‘Options’.
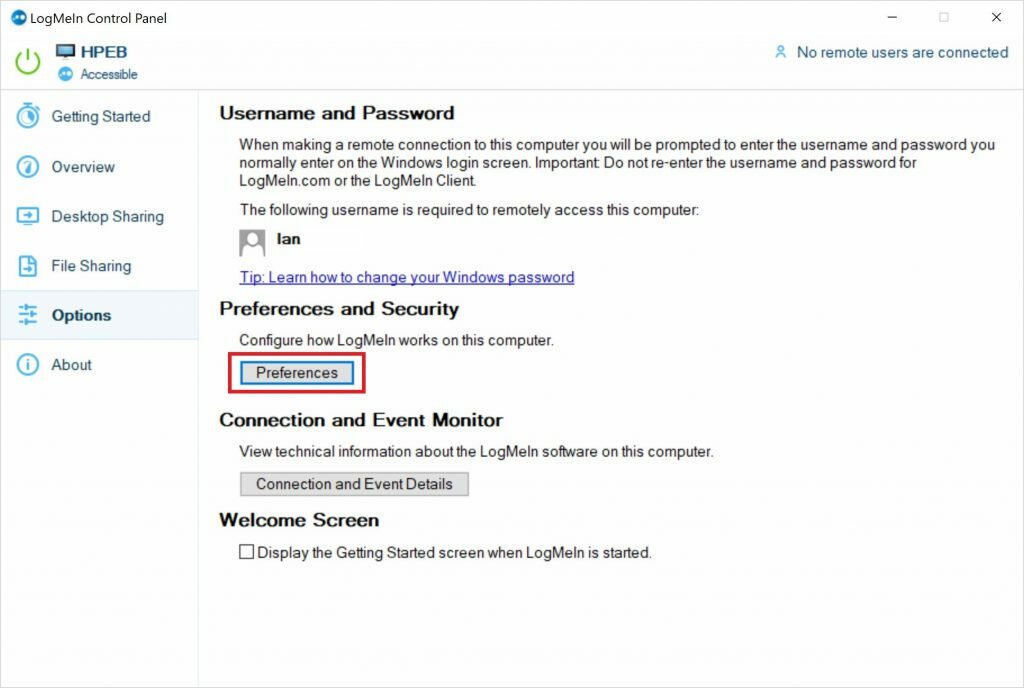
4. Now click on ‘Preferences’.
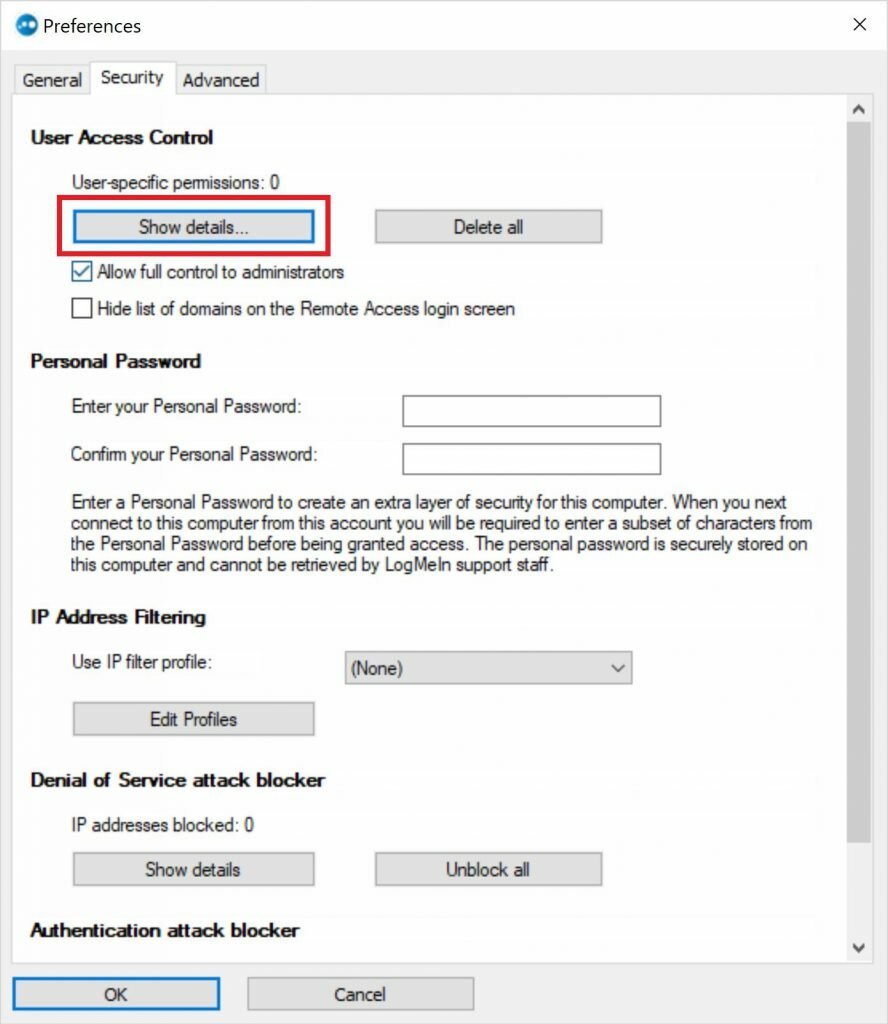
5. Click on ‘Show details’.
6. Click on ‘Browse’.
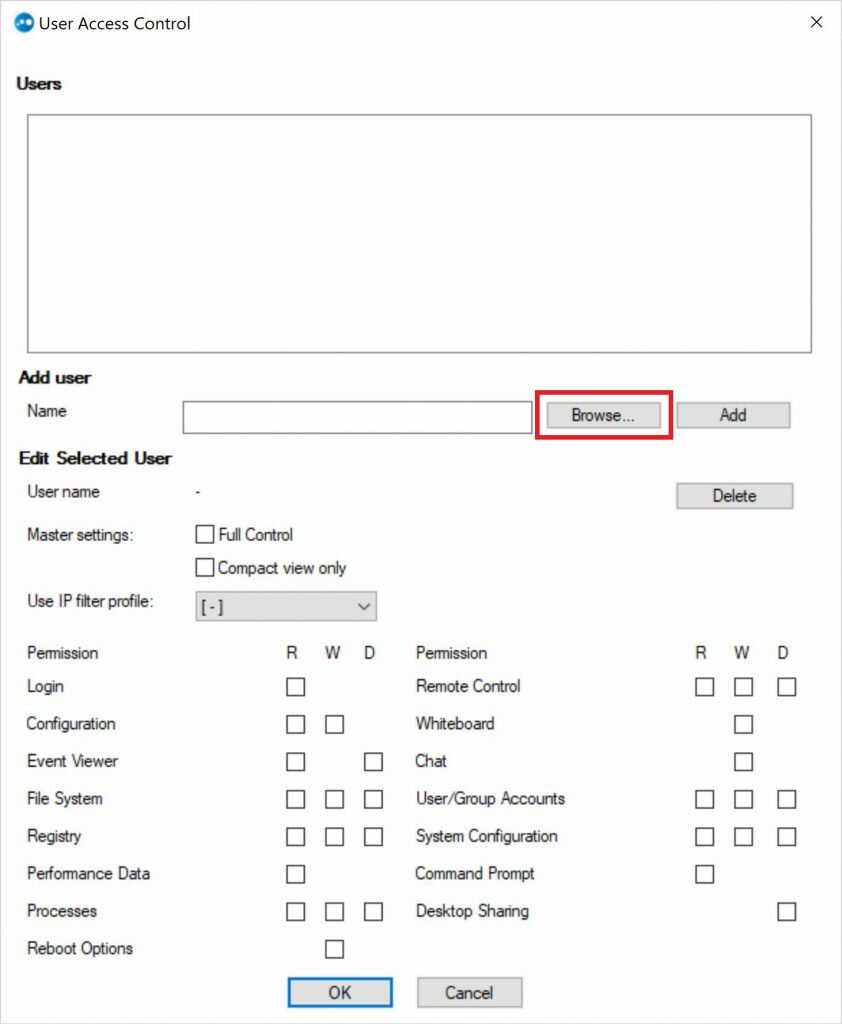
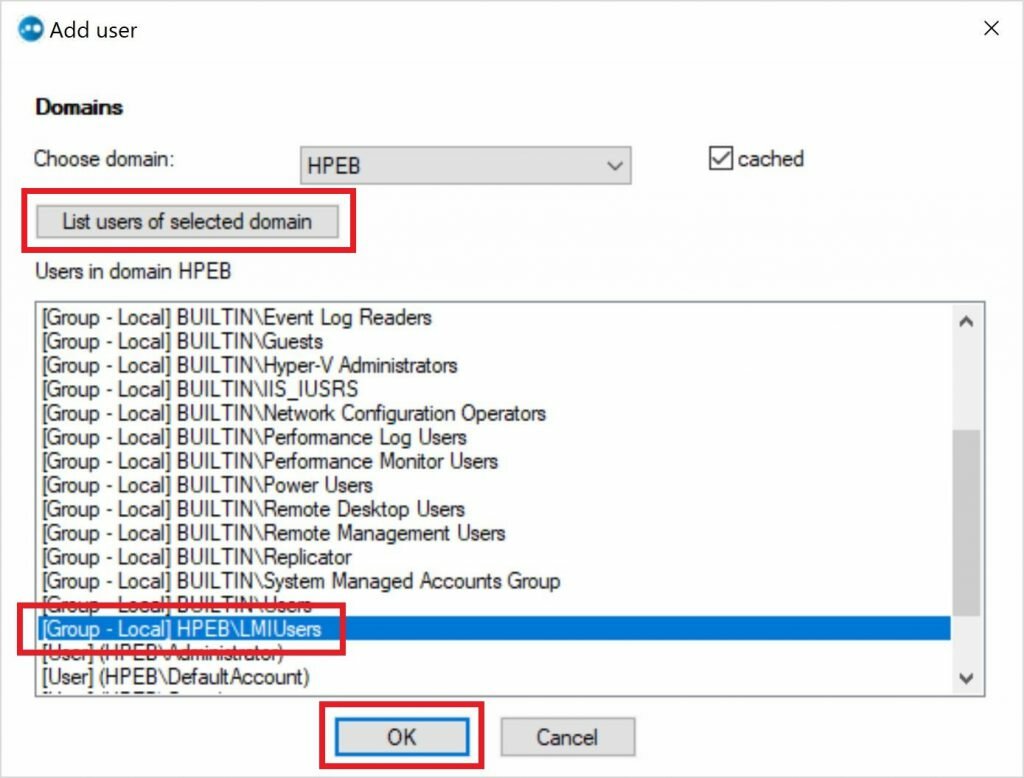
7. Click on ‘List users of selected domain’.
Search the list for the newly created group called ‘LMIUsers’ and press ‘OK’.
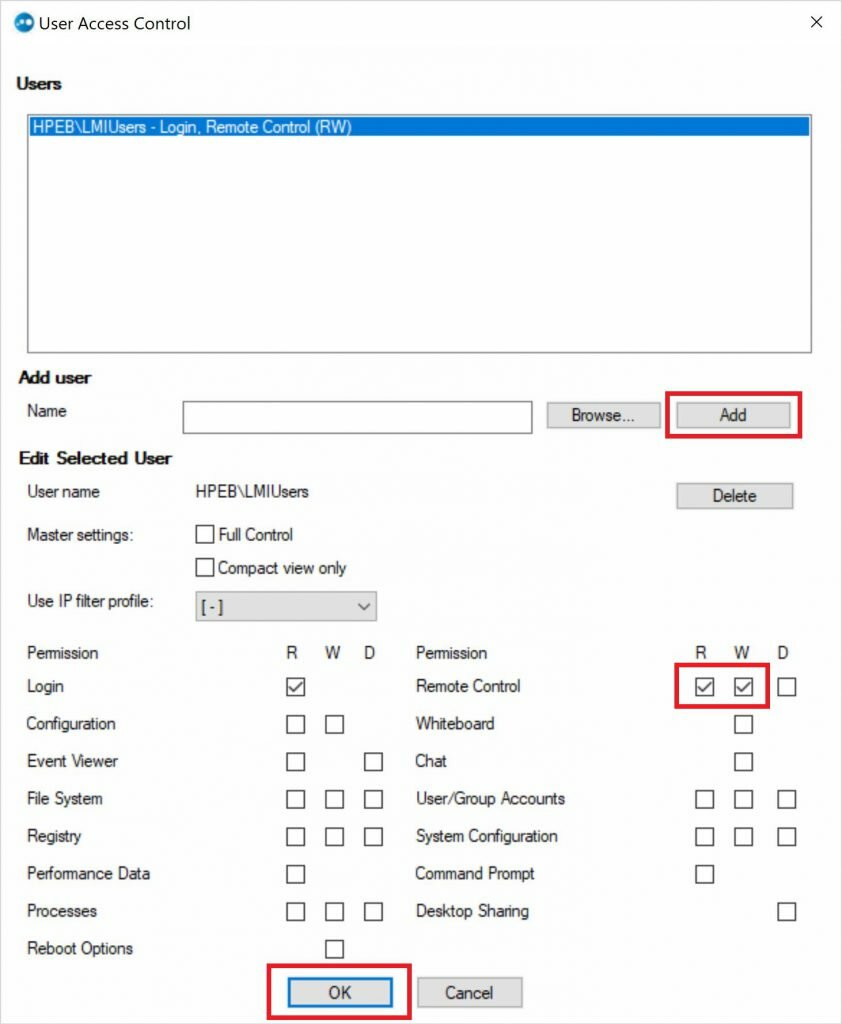
8. Press Add to confirm you wish to add the group to the users list.
From here if you want to enable remote access ensure R and W are ticked on the ‘Remote Control’ permission as shown and press ‘OK’.
9. That’s it you’re done. Configure the rest of LogMeIn as usual and if you need to allow any other users in the future just add them to the Local LMIUsers group on the computer.
Leave a Reply