
You might not be aware that there’s a correct method for installing Teams when using a VDI solution. I frequently work with AVD, so this article is tailored to that environment. However, this guidance applies to any VDI solution utilizing the Teams machine-wide installer. For more information on installing Teams for other VDI setups, check out this link: Classic Teams for Virtualized Desktop Infrastructure – Microsoft Teams | Microsoft Learn. While writing this piece, the new Teams client was launched for VDI in public preview. I won’t delve into that here since it’s still in the preview stage, but expect changes as users transition to the new Teams. For now, this post focuses on “classic” Teams. The installation process is straightforward, but according to Microsoft, Teams MSI installations do not auto-update. Over time, you might find yourself with a Teams machine-wide installer that’s outdated, exceeding Microsoft’s 90 days of support for Teams. Complicating matters, updating Teams isn’t as simple as running the latest MSI. Microsoft advises uninstalling the current version and deploying the updated MSI – Classic Teams for Virtualized Desktop Infrastructure – Microsoft Teams | Microsoft Learn.
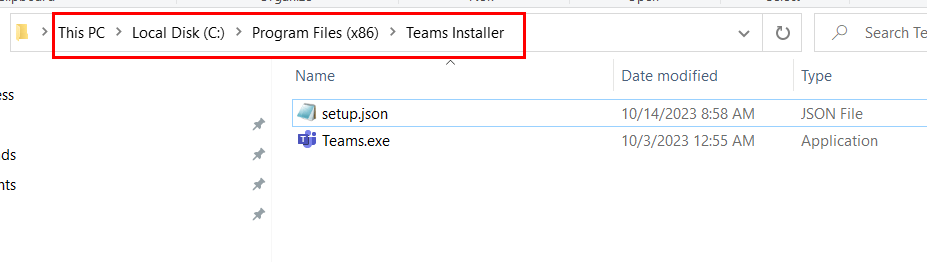
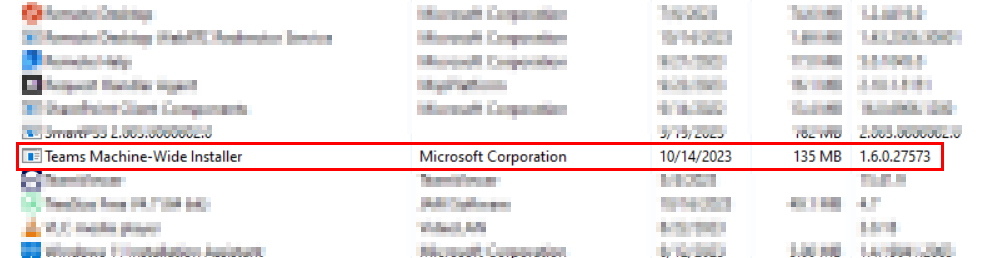
The key distinction between downloading and installing Teams as an executable individually, versus deploying the Teams Machine-Wide Installer via an MSI, is where it gets installed and how updates occur. When Teams is installed in pooled VDI environments, Microsoft recommends utilizing the Machine-Wide Installer, which places a Teams.exe file in the c:\program files (x86)\Teams Installer directory on the system. Additionally, it creates an entry in the programs for the Teams Machine-Wide Installer:
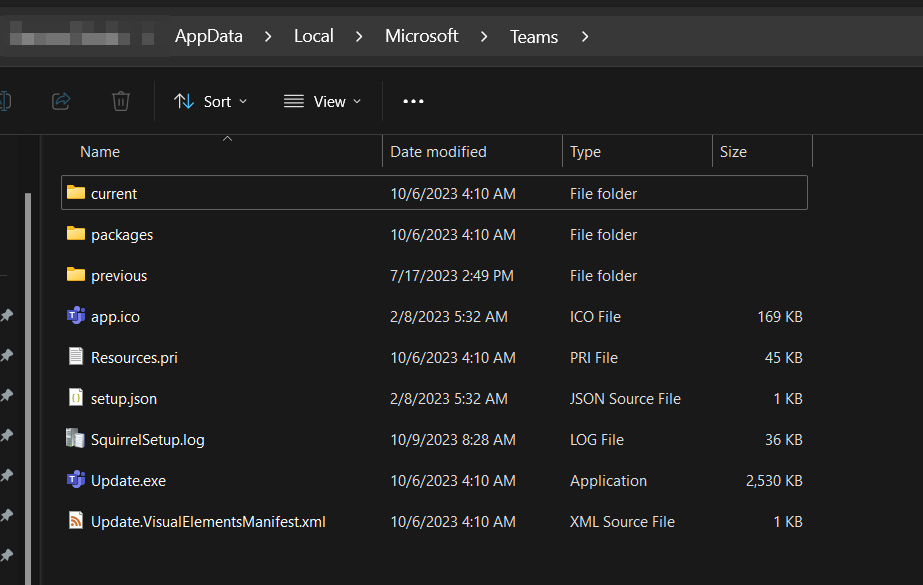
When users log in for the first time, the machine-wide installer performs a standard installation of Teams into that user’s profile located in the %localappdata%\Microsoft\Teams directory.
This highlights the importance of using per-machine installations in a VDI environment. Teams will automatically install to the native user profile location. Once installed, it will match the version of the Machine-Wide Installer present on the host. After installation, Teams will typically begin checking for updates automatically, but I’ve faced issues in the past where Teams could fail to update, especially if the Machine-Wide Installer is significantly outdated. Therefore, good maintenance practices dictate that you keep this up to date on your session hosts. As mentioned earlier, it is advisable to uninstall Teams and install the latest version. If you deploy using a common image for your session hosts, you will want to perform this periodically on your image. However, if you have existing session hosts where you want to update this routinely without redeploying the image, you can utilize Intune remediations to automate the process. After all, if you’re already using Intune and your session hosts are MEJ or HMEJ, enrolling them for additional management adds no harm.
This process can become challenging since session hosts are typically on a scaling plan. Remediations will run on a schedule, and if a host misses the scheduled time, it will execute the next time it checks in. Alternatively, you can create the remediation, skip assigning it, and execute it on demand when necessary. Before executing the scripts, let’s consider what Teams requires for proper operation in a VDI environment so we understand what the scripts are intended to do.
- Microsoft advises installing the latest version of the Microsoft Visual C++ Redistributable on your session hosts (and on clients if they are Windows-based) https://support.microsoft.com/help/2977003/the-latest-supported-visual-c-downloads. This is essential for Media Optimization to function correctly.
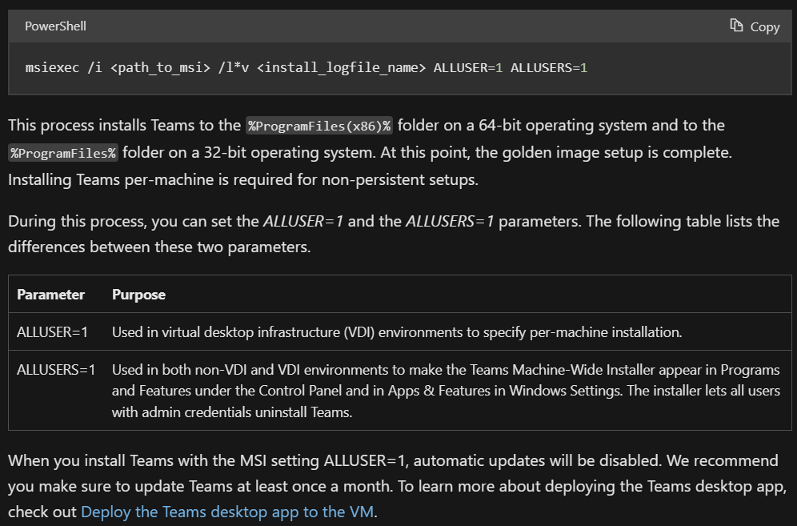
- Media optimization must be activated via a registry value. Without this, installing Teams using the “ALLUSER=1 ALLUSERS=1” parameters will fail, as it won’t recognize that it’s being installed in a VDI environment. The IsWVDEnvironment DWORD value of 1 needs to exist under the “HKLM:\SOFTWARE\Microsoft\Teams” registry key.

- The Microsoft Remote Desktop WebRTC Redirector Service (https://aka.ms/msrdcwebrtcsvc/msi) must be installed on the session hosts. Please note that this isn’t necessary for other VDI platforms like VMware Horizon.
- Finally, Teams needs to be installed with specific options for AVD. The recommended installation method is using “ALLUSER=1 ALLUSERS=1” as part of the installation process (Use Microsoft Teams on Azure Virtual Desktop – Azure | Microsoft Learn).
I have detailed this on Github with four scripts if you prefer to use separate remediations for each component (Teams, WebRTC, C++ x86, C++ x64), or a single master script that executes everything in one detection/remediation. The detection script downloads the most current WebRTC, C++ Redistributable, and Teams MSI installer files. It performs a version check against the currently installed software. If any software is outdated, the remediation script executes to properly update the components. For Teams, it will carefully remove the installed Teams MWI version and then deploy the new version with the correct VDI options. The C++ Redistributable and WebRTC components don’t require removal of older versions, so they will automatically update when new installers are run. If your systems lack the C++ Redistributable 2015-2022, a reboot is also necessary to complete those installations. The script suppresses the reboot, so you’ll need to restart the hosts afterward or modify your script to include a reboot at the end.
One critical point in the remediation is that for both the remediation updating all components and the one solely for Teams MWI, I included a check to ensure the required registry value for “isWVDEnvironment” is set, and it adjusts the value if it’s missing or incorrect. Therefore, it’s essential that these scripts are executed in a 64-bit context (see below). I made this decision because Teams will not install with the VDI options without that registry value.

Scheduling can vary by environment. You can automate the remediation to run every 30 days or run it on-demand during maintenance, as previously mentioned. Make sure to keep your images updated as well. Ideally, these actions should occur when users are not actively using Teams, which might be challenging. Since Teams is installed locally in user profiles, and only the Teams MWI components are being removed or updated, the impact on users should be minor. However, WebRTC component updates can disrupt users on live calls. Therefore, do what suits your environment and scaling plan best.
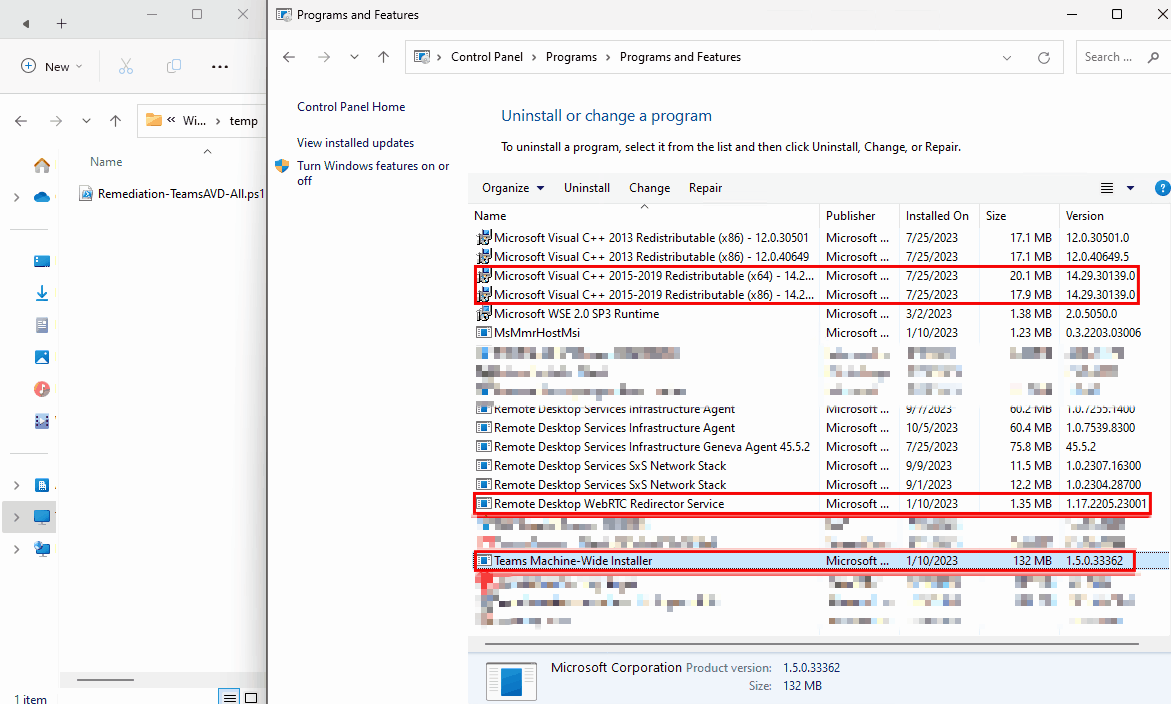
Here’s a GIF demonstrating the remediation process on a Windows 365 image running in the system context, as it would through Intune. You can see the installers downloading and all four applications being updated in the program list. The script completes in under a minute:
Leave a Reply