
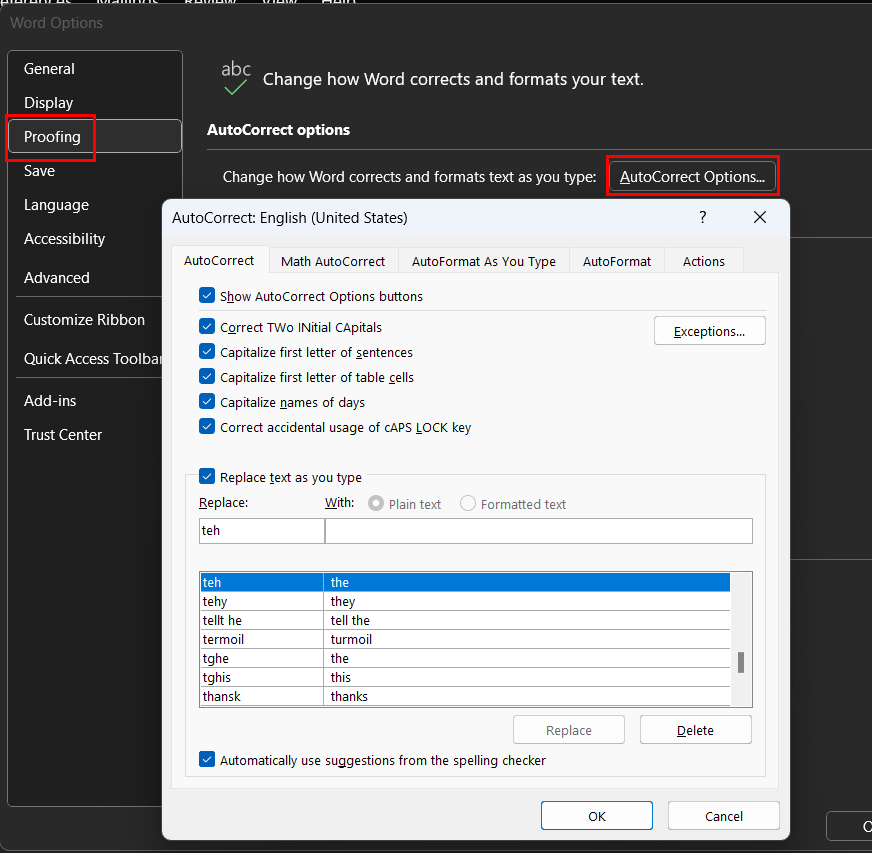
Many companies find the default autocorrect features in Microsoft Word adequate. This feature will automatically correct frequently misspelled or miskeyed words. For instance, if you type “teh” instead of “the,” AutoCorrect will modify “teh” to “the” automatically. You can locate the dictionary of AutoCorrect settings via Word > File > Options > Proofing > AutoCorrect Options by selecting the AutoCorrect tab:
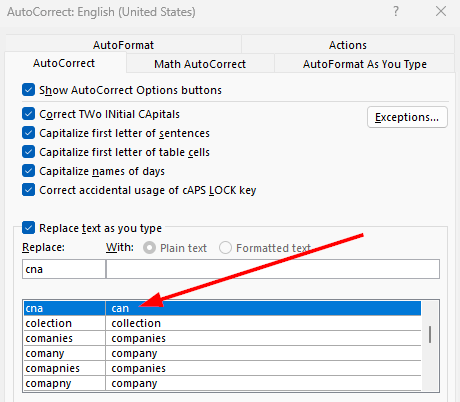
However, there may be certain acronyms that you wish to keep from being corrected. For example, in the U.S. medical field, CNA refers to Certified Nursing Assistant, but AutoCorrect changes “cna” to “can” automatically.
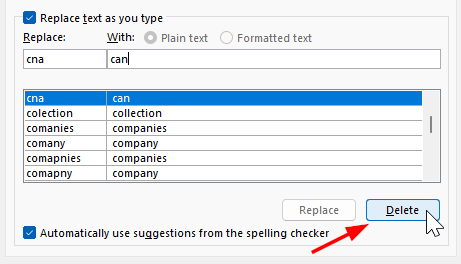
To resolve this, we can manually remove the entry on the affected systems:
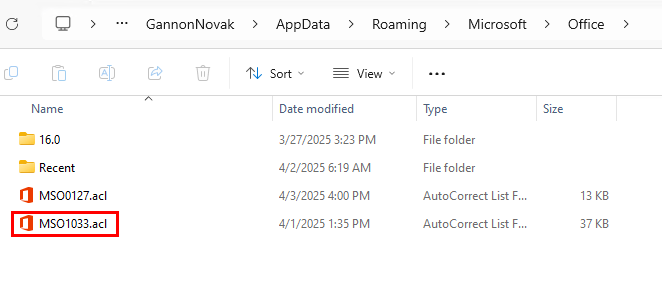
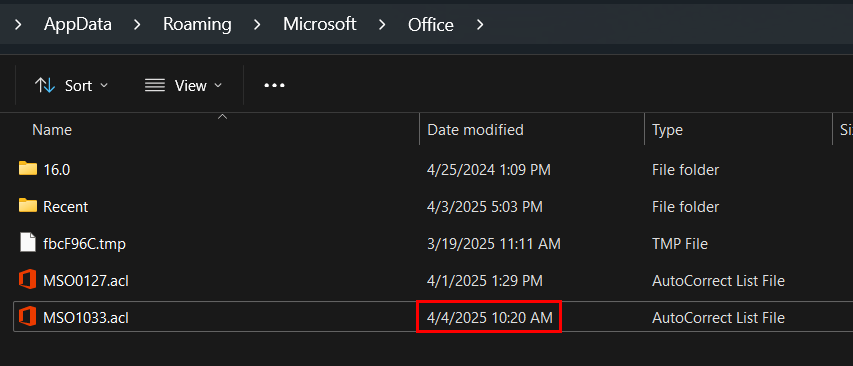
If we aim to automate the deployment of these changes across workstations, we need to identify the location where the autocorrect data is stored and deploy it to our endpoints. Since this setup is in a Windows-only environment, the following instructions are tailored for Windows. The file containing the settings used by AutoComplete can be found in the user profile at %appdata%\Microsoft\Office, with the full path being c:\users\username\appdata\roaming\microsoft\office.
Within this directory, you’ll encounter acl files named corresponding to the installed languages. For U.S. English, the file will be named “MSO1033.acl”.
If you have several language packs installed, ensure that you align your language with its Local Identifier. The table below lists several of these:
| Language | LCID | File Name Example |
|---|---|---|
| English (United States) | 1033 | MSO1033.acl |
| English (United Kingdom) | 2057 | MSO2057.acl |
| French (France) | 1036 | MSO1036.acl |
| Spanish (Spain) | 3082 | MSO3082.acl |
| German (Germany) | 1031 | MSO1031.acl |
| Portuguese (Brazil) | 1046 | MSO1046.acl |
| Chinese (Simplified) | 2052 | MSO2052.acl |
| Chinese (Traditional) | 1028 | MSO1028.acl |
| Japanese | 1041 | MSO1041.acl |
| Korean | 1042 | MSO1042.acl |
| Russian | 1049 | MSO1049.acl |
| Italian (Italy) | 1040 | MSO1040.acl |
| Dutch (Netherlands) | 1043 | MSO1043.acl |
| Arabic (Saudi Arabia) | 1025 | MSO1025.acl |
With this established, we now need to implement the AutoComplete modifications we desire on a reference machine, and after these adjustments, transfer the .acl file to our target computers.
To adjust your AutoComplete entries, navigate to Word > File > Options > Proofing > AutoCorrect Options, apply the necessary changes, and click OK. The .acl file should reflect the last modified timestamp when you made changes.
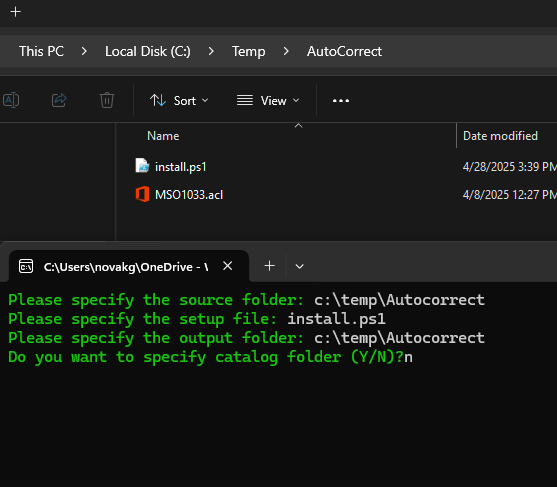
Copy the updated file and place it in a directory along with the installation script provided below (GitHub). Additionally, note that the directory containing the .acl file will only be created after Word has been launched for the first time. Therefore, we will create the directory if it does not already exist. Moreover, the script will generate a dummy file to serve as our detection method. Simply checking for the existence of the acl file won’t suffice, as it will be present on any machine that has already run Word. Furthermore, we shouldn’t rely on the timestamp of our acl file for detection since any user modifications may lead to overwriting their changes.
$destinationpath = "$env:APPDATA\Microsoft\Office"
$destexists = test-path $destinationpath
If (!$destexists) {
New-Item -Path $destinationpath -ItemType Directory -Force
}
Copy-Item .\MSO1033.acl -Destination $destinationpath -Force
#Check for copied file
$aclexists = Test-Path "$destinationpath\MSO1033.acl"
If ($aclexists) {
New-Item -Path "$env:APPDATA\Microsoft\Office\AutoComplete040425.txt" -ItemType File -Force
}
else {
Write-Output "ACL file copy failed"
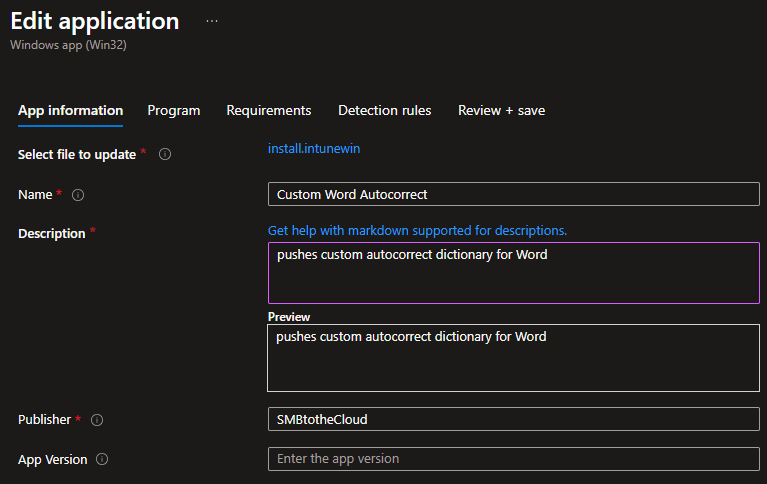
}The next steps are straightforward. We will utilize a Win32 app to distribute our autocorrect settings. Create a new Win32 app and upload the .intunewin file created previously. Provide the necessary app details.
For our installation script, the command below should be used. Additionally, ensure that we are installing within the user context, which is crucial since the autocomplete files reside in the user’s profile, meaning each user has their own acl file.
powershell.exe -executionpolicy bypass .\install.ps1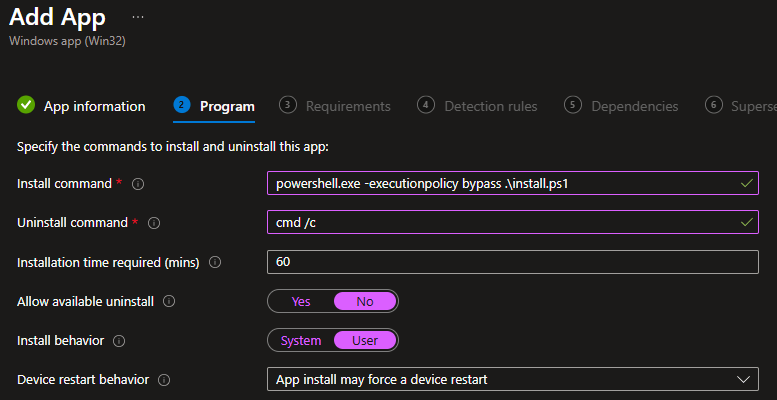
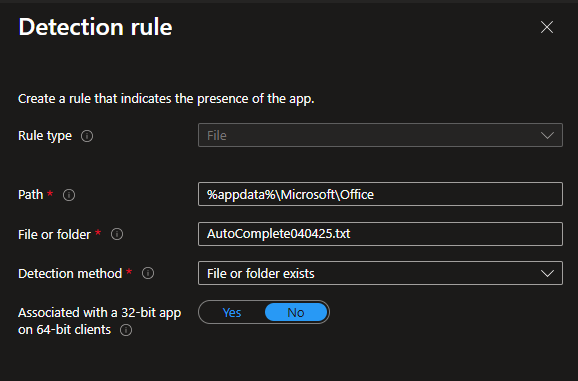
As mentioned earlier, we are creating a detection file as part of the installation script. This will generate an empty text file with the date included in the file name. Should you need to modify this app in the future, you can simply change the date in the name of the text file.
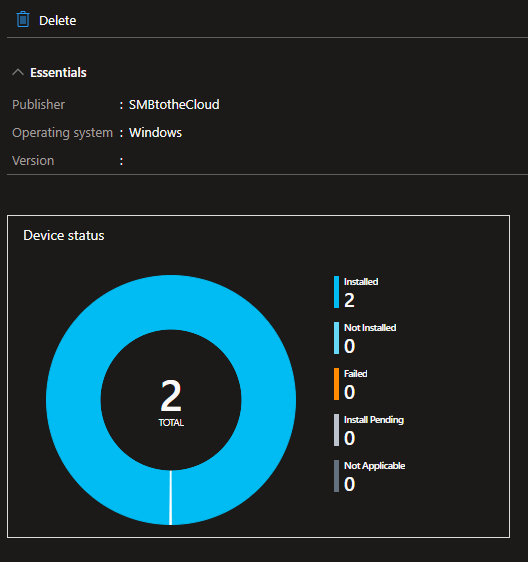
Deploy the settings to your target groups, and the devices will receive the updated autocorrect settings during the next check-in.
Leave a Reply